Screen recording comes in handy more often than you might think. Whether you are putting together a tutorial, filing a bug report, or capturing a presentation, being able to record what is happening on your screen saves a lot of back-and-forth. The best part? On every major platform, you do not need to install anything — the tools are already built in.
The easiest option — record right in your browser
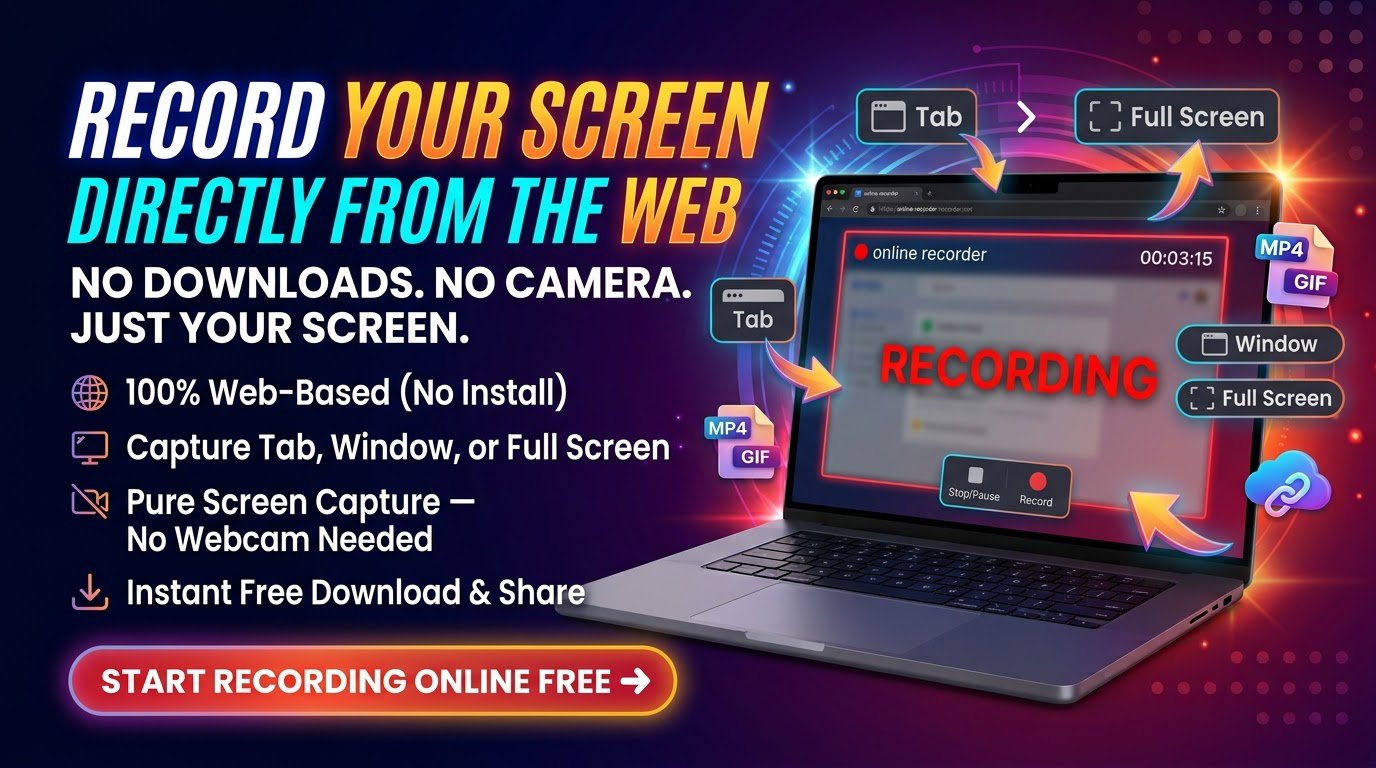
If you want to record without touching any settings, the simplest path is Trencada’s free online Screen Recorder. It works on Windows, Mac, and Chromebook, requires no download or sign-up, and records your screen with audio right in the browser. When you are done, your recording downloads as a WebM file that plays in any modern browser.
How to record your screen on Windows
Windows 10 and 11 come with not one but two built-in screen recorders, so pick the one that fits the moment.
- Xbox Game Bar: Press Win + G to open the Game Bar, then click the red record button (or press Win + Alt + R to start and stop recording instantly). Your video saves to the Videos > Captures folder.
- Snipping Tool: Open the Snipping Tool, switch to video mode with the camera icon, then drag to select the area you want to record and press Start. This is great for recording a specific region rather than your full screen.
How to record your screen on Mac
macOS has a dedicated screenshot toolbar that handles screen recording with just a keyboard shortcut.
- Press Cmd + Shift + 5 to bring up the screenshot toolbar.
- Choose “Record Entire Screen” or “Record Selected Portion,” then click Record.
- Click the stop icon in the menu bar when you are finished. Your recording saves to the Desktop by default.
- Alternative: Open QuickTime Player, go to File > New Screen Recording, and press the record button for more options, including microphone selection.
How to record your screen on Chromebook
ChromeOS has a built-in screen capture tool tucked into the quick settings panel.
- Press Ctrl + Shift + the Show Windows key (the rectangle with two lines, usually above the 6 key).
- Select the video camera icon, then choose full screen, partial screen, or window recording.
- Click anywhere to start recording, and click the stop button on the shelf to finish. Your video saves to the Downloads folder.
Tips for a clean recording
- Close notifications and mute chat apps so pop-ups do not interrupt your video.
- Check your microphone before you start — a quick test recording saves you from silent videos.
- Record in a quiet room to keep background noise out of your audio.
- Keep it short and plan your clicks ahead of time so viewers stay engaged.
FAQ
Is it free?
Yes. The built-in tools on Windows, Mac, and Chromebook cost nothing, and Trencada’s online screen recorder is free to use as well.
Do I need to install software?
No. Every method in this guide uses tools that are already on your device or run entirely in your browser.
Where do recordings save?
On Windows, recordings save to the Videos > Captures folder; on Mac, to the Desktop; on Chromebook, to the Downloads folder. Recordings made with Trencada’s online tool download directly to your browser’s default download location as WebM files.
Ready to capture your screen in seconds? Try the free Screen Recorder — no download, no sign-up, just hit record.